For serious players. Stop guessing. Start winning.
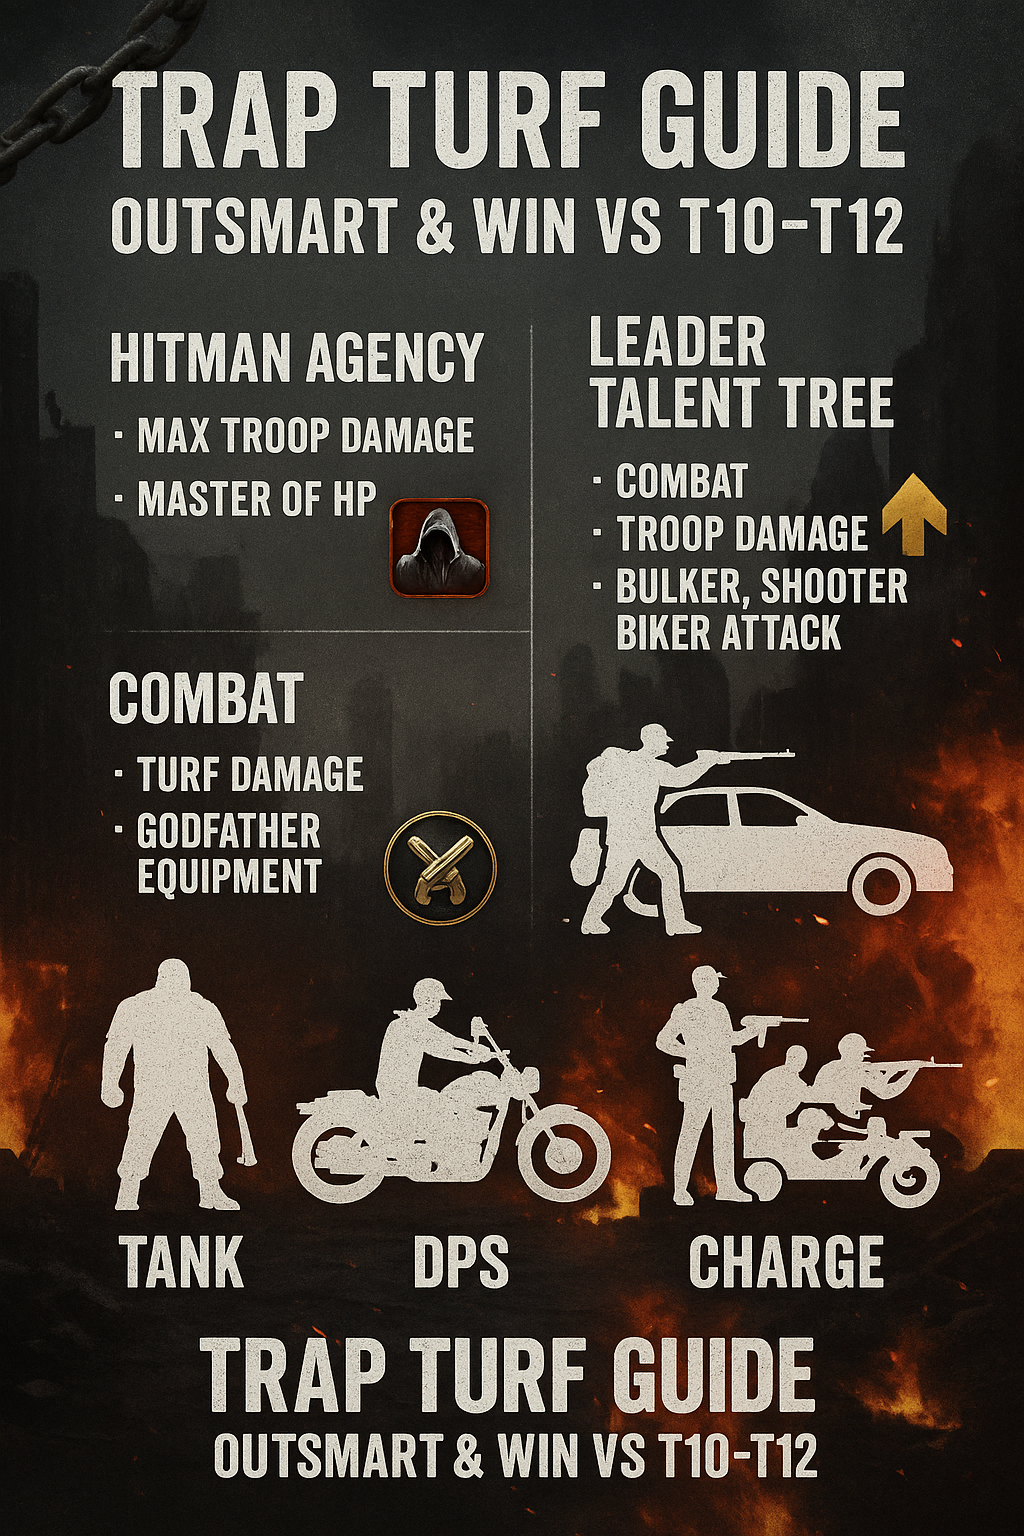
1. Troop Roles Explained
Bulker (Thug)
- Defensive Thugs: Frontline tanks that soak damage and reduce shooter effectiveness.
- Attacking Thugs: Positioned behind tanks, deal strong damage especially against bikers.
Bikers
- Male Biker: Fastest troop with Charge talent. Targets: Female Bikers → Shooters → Vehicles. First to attack, high burst.
- Female Biker: Higher stats than males but slower. Strong vs. shooters and backline.
Shooters
- Highest attack in the game. Fragile. Must be shielded to survive.
T10 Shooter Base Stats: 98 ATK / 55 DEF / 18 HP
Vehicles
- Balanced units. Strong defense, great vs. bikers.
T10 Vehicle Base Stats: 88 ATK / 75 DEF / 25 HP
T1 Troops — Cold Meat Shields (Trap Troops)
- T1 = 1 Power. Extremely low cost for high utility.
- Use as damage sponges and layer confusion.
- Essential in trap turf design to manipulate power loss and win trades.
2. Battle Mechanics: Why You Win or Lose
- Winner = Less power lost, unless all troops are wiped.
- T1 layers reduce your losses and bait high-tier troops into bad trades.
- Learn to read Page 2 of the report — that’s where truth lives.
3. Recommended Trap Turf Level
- Turf Level 22–26
- Keeps power low, unlocks T9–T10, and won’t scare off attackers.
- Anything higher might make you look too strong to be bait.
4. Trap Turf Setups
A. Standard Trap (Vs. T9–T10 Attackers)
Power Range: 10M–25M
Troop Setup:
- 500,000 T1 Bikers
- 150,000 T2 Thugs
- 50,000 T9 Thugs
- 30,000 T10 Shooters
- 50,000 T10 Male Bikers
- 20,000 T10 Female Bikers
- 30,000 T8 Vehicles
Traps:
- 500 Iron Barriers
- 400 Sniper Towers
- 300 Landmines
B. Advanced Trap (Can Beat T11 Attackers)
Turf Level: 26+
Power: 30M–40M
Note: Still appears baitable to many T11 users who underestimate layered stats.
Troop Setup:
- 800,000 T1 Bikers
- 200,000 T3 Thugs
- 100,000 T9 Bulkers
- 80,000 T10 Shooters
- 70,000 T10 Male Bikers
- 50,000 T10 Female Bikers
- 50,000 T9 Vehicles
Trap Setup:
- 1,000 Iron Barriers
- 700 Sniper Towers
- 500 Landmines
Stats You Need:
- Damage Taken Reduction: 50%+
- Bulker Health: 600%+
- Shooter Attack: 700%+
This trap survives the T11 charge cycle, soaks enough damage, and backlines finish the job.
C. Max Trap (Can Survive & Win vs. T12)
Turf Level: 30 (Max trap build)
Power: 50M+ (Still under many heavy hitters)
Troop Setup:
- 1M T1 Bikers
- 300,000 T4 Bulkers
- 200,000 T10 Shooters
- 150,000 T11 Male Bikers (if unlocked)
- 100,000 T10 Female Bikers
- 100,000 T10 Vehicles
Traps:
- 1,500 Iron Barriers
- 1,000 Sniper Towers
- 800 Landmines
Required Stats:
- Total Troop Damage Reduction: 60%+
- Shooter Damage Bonus: 800%+
- Bulker HP/DEF: 800%–1,000%
- Charge Damage: 500%+
This trap looks juicy to overconfident whales. But when they hit — they pay.
Page 2 of the report will show your T1s died, but their T12s were slaughtered by your shielded DPS.
5. Stat Formula Reminder
Troop Damage = Base Stat × (1 + % Bonus)
Example:
T10 Biker = 90 ATK base
With 100% bonus = 90 × 2.0 = 180 Damage Output
Every % matters.
Final Advice
- Layer your formation intentionally.
- Use T1s in every trap build.
- Focus gear/talents on Damage Reduction, Bulker HP, and Shooter ATK.
- After every hit, analyze Page 2 of the report and adjust.
Stop showing off your turf power. Start using your brain. That’s how real traps win.